Wednesday, April 1, 2015

Triple Treat Pastels

Even though we've had more snow, I'm encouraged by the intensity of the sunlight (when it appears) to work with some pastels.  Here's a triple treat of yellow, pink and blue for Easter.


The stamp set is Reason to Smile from Papertrey Ink.
It was a freebie--and now it's pastels for Spring.
Two --or three?--reasons to smile!

Wednesday, March 18, 2015

Balloon Birthday Revisited

Back to the drawing board for the birthday card from last week!  I had three extra kits from the card making session and decided to make them up this afternoon.  I found a Papertrey Ink die cut and stamp set "Heart 2 Heart" with a sunshine and clouds to add to the cover.


I like this one for the triple deckle edge.
The pearl heart on the cloud and highlights on the balloons are new too.
I used some of the confetti from the bubble punch to add texture on the background.


This was my first attempt and I'm not liking it very much.
I do like the dotted sentiment flag but the empty spot beside it couldn't be filled by sequins really.
The glitter highlights don'r stand out much, but I used Ranger Pearl Dots on the background 
(which gave me the idea to use it for highlights!).


This is the version I liked best.
Balanced composition makes the card look bigger.
Nice pearl heart on the cloud.
Simple sentiment stamp less busy.
Five balloons make a nice bunch--and tall for height.

I will use them all in the next month for birthdays but it was fun to dabble today.

Tuesday, March 3, 2015

Spritz, Spatter and Sparkle

I need a masculine birthday card for the weekend--belated, too!  I found an inspiration card on Pinterest and decided to take it up a level--or two--with spritz, spatter and sparkle.

by Liz Holloway of stampersplus.com


Start with a white card base (half of an 8.5 by 11 inch sheet of card stock folded in half). Add a color trim to match one of the balloons which will be added later. It can be a quarter cut of a full sheet, trimmed 1/8 inch smaller all around. Then cut the card top that we will spritz and spatter and sparkle. It can be trimmed down 1/4 inch all around so the color trim will show as the middle layer on the finished card.


This is the Martha Stewart small balloon punch used to make some yellow, green and blue balloons. I'll be making kits for my card making group so I kept on punching.


The next step is to spritz and spatter the card top.  I used Stampin' Up Baja Breeze re-inker in a bit of water in the Stampin' Up spritzer. Play around with it until you get the effect you desire, using paper towel to soak up too much ink and a heat tool to dry it.
I used Smooch Spritzer in Pearl to add a little shimmer.  I also added some spatter using the nozzle of the ink spritzer against my knuckle. You can also add some silver dots with a Sharpie in Metallic Silver.


Next, add some texture to the card top with a deckle trim on one side and an EK bubble punch on the other.  I like the deckle look, but find the Fiskars deckle edge scissors a bit frustrating to use.  

Tip:Take it slow with short snips and try to match the ins and outs.


Now it's time for sparkle! I used Martha Stewart's Glitter and Glue set as the highlight on the green and blue balloons. My card was masculine, but I'll be taking the Art Mind flower-shaped sequins for my group to use should they choose to make a more feminine card. I used the Studio G Glitter Glue on the yellow balloon. I added my own balloon ties with a .1 Staedler pen.  A chance to doodle! Then add the balloons to the card with foam adhesives to add dimension.

Last item to add to the card is the sentiment, mainly so that you can determine exactly where to place it on the card top. I used the EK Success Large 2 Point Flag both as a pennant and a longer arrow (using only the edge of the punch).  I had trouble finding some shorter birthday sentiments to fit on the 2 point flag. but finally settled on some from the Fiskars Happy Birthday set and the All Year Greetings set.  The longer sentiment stamps are from Scrappy Cat. StazOn Jet Black stamp pad makes a good, dark impression.


And here is my final card:
more balloons 
(odd numbers are more pleasing to the eye)
more texture
more dimension
more color


I have a card for the birthday this weekend
and 
kits for my card making group on Monday!


Monday, March 2, 2015

Make It Monday Challenge

Each Monday, Papertrey Ink (PTI) sends a video lesson of a team designer's new design and/or technique. Today's Make It Monday (MIM) really inspired me because I love to doodle.
Here is today's design by Ashley Cannon Newell using doodles to enhance some watercolor stamping.


And here's my version:


And here's how I did it.

I used Ranger Distressed watercolor paper to stamp with PTI's Wildflower Garden daisy-like petaled flower.  I wet the paper with a Kuretake water brush pen and then stamped the flower only with PTI Aqua Mist Dye Ink and G Studio Rose and Color Box Lilac.


I used the leaf only with PTI's Simply Chartreuse and Ranger Distress Ink Peeled Paint.
I used a mister and a small paintbrush to blend the colors a bit more and heat-dried the piece.
I also used just the bloom of the smaller flower (lower right in the case).


Next, comes the fun!  Using a Staedler pigment Fineliner set, it's time to doodle away,
Watch Ashley's video for more details on how to achieve a sketchy look.


The pens come in .1, .3, .5 and .7 thickness.
Make dots and sketchy lines for borders. Add some depth in the middle with wider, darker lines.


Add a sentiment, if you like.
I used the Hello die cut from The Creative Workshop (TCW) in three thicknesses 
of black card stock and a polka dot paper using Creative Memories Precision Point Adhesive.


I anchored the watercolor paper with 1/4 inch Scor-tape after it was completely dry.
The watercolor paper was slightly smaller on one side than the card base of PTI Aqua Mist.
I secured it to the right and distressed the left edge with an Ranger distress tool.


I was very happy with this design and may make some more in other color combinations.
The doodling was the best part!


Thursday, February 12, 2015

A Bench Cushion for the Craft Room

Deep into winter is a good time to get those projects done that you have been putting off since autumn.  When you can't go out due to ice and slippery, snow-covered streets, why not sit in your craft room snug and warm and sew?

I first had to cut the foam down to size with an electric knife. Sorry, no photos!  I couldn't cut and hold the camera.  I also used an old electric knife and it started to overheat right away trying to cut through the 4 inch foam.  The cushion was 21 inches wide and 72 inches long.

Then, I needed to find some white piping since I didn't have enough fabric to make bias strips from the decorator fabric.  Not finding what I really wanted on Amazon.com, I bought some wide bias twill tape at JoAnn's.  It was too thin.  I rummaged through my decorator fabrics and linings and found some white twill fabric that I could cut in 5 inch strips.  I used 12/32 inch cording (12 yards).
One package made enough piping for the top and another for the bottom.  I did not cut my fabric strips on the bias.  It had enough give to go around corners easily.


The next problem was finding a presser foot that would work on this project and my new machine.
After much rummaging though my sewing machine desk drawers, I  found a zipper presser foot that came with my machinge and borrowed a 1/4 inch quilting foot from a friend (it should have been in my accessories tin, but it was missing).  Here's a sample of folding the fabric strip over the cording.


And here's the zipper presser foot with the fabric and cording pushed up to the left side 
so the cording will be tight in the fabric casing. 


You then sew the piping along the cut edge all around the top sides both lengths and widths.

As you come to corners, you can clip the piping casing and keep the piping 
pulled back and upright to keep it from being caught by the needle.


Keep the presser foot up close to the cording in the casing as you sew around the corner.


When you get back to where you started, mark the place where the two cords meet. Cut the cords with the casing of one side pulled back.  Then turn under the ends and overlap the casing over the other side. Sew the seam. It would have been better to trim back the top one and overlap it since the presser foot was coming down from the top.  I was able to keep it flat, but it would have been "going with the flow" to have the overlap of the top part instead of the bottom.

That's enough for one day!
Tomorrow we will sew the sides together and onto the top piece with the cording in place.


Thursday, February 5, 2015

New Location for Designs by Didi Blog

Well, I've given up my old blog address and decided to go with the flow of Google +.  This means I can now post to my garden blog or my craft blog from my phone and my new Surface tablet from one sign in.  It should be easier all around for me, but I really dislike leaving all my former creations behind at Yahoo.

Still, it 's a new year--and a new way of doing things!

Here goes my first post--Valentine cards.


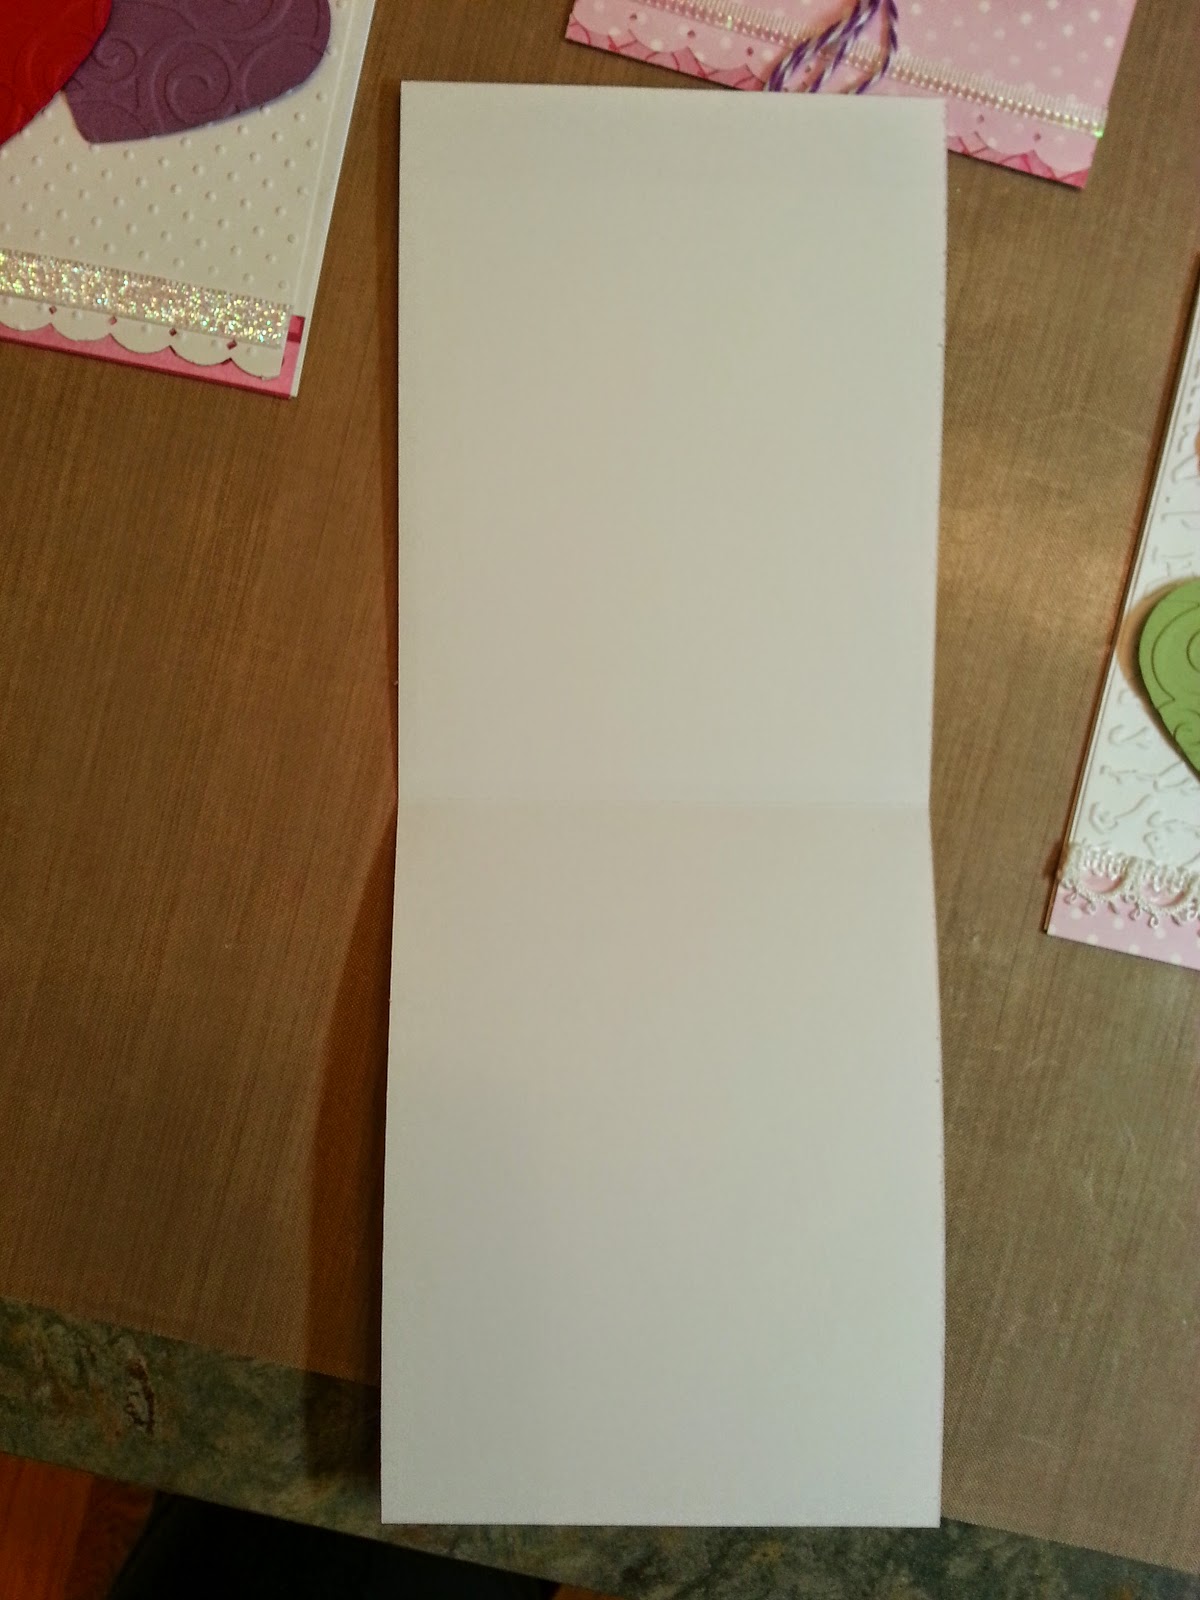
Start with a long card base cut from 
8.5 X 11 inch card stock.
I used white, but light pink would also work nicely.


Use an A2 card front size to insert into embossing folders.
I used Cuttlebug Script and Swiss Dots folders.
A card front size is actually half of a long card base shown above.
Sorry the folders are upside down!  I did edit these photos...


Once the card front is embossed, use a border punch to 
add some texture and dimension to the card base.
This punch is EK Scallop Diamond.


Attach a strip of patterned paper at the base of the front of the card with a Scotch dot roller.
Then attach the embossed and border punched card front to the card base with Scor-tape.
The patterned paper should show under the border.
Sorry again that this photo is sideways!


I punched out lots of hearts with the Marvy Heart Punch.
The hearts are on the large size, 1 5/8 inch across.
I used solids and patterns.
I also embossed half of the solids with the Cuttlebug
Divine Swirl folder in the Big Shot, three hearts at a time.


I folded the hearts in half with a bone.
The embossed ones tear easily in the center, but they will be glued down later.


Turning the hearts upside down, I used Tombow Mono liquid glue to attach some twine to the back.
This is colored butcher twine from The Twinery in lilac, pink sorbet and maraschino.


While the liquid glue is still sticky, turn the hearts over and arrange them on the card front.
Make sure the strings hang down free and that the sides of the hearts are free to pop up.
When the glue has dried a bit, take the strings together and form an overhand knot to keep the 
"heart  balloons" together in a clump.  Anchor the knot with another dab of glue.
Notice that I added some lace and assorted self-stick ribbon above the punched border 
to these before adding the heart balloons.


The sentiment is a banner made with Stampin' Up Itty Bitty Banners stamp and die cut set.
I added a single pearl heart on the banner also.  It is popped with some foam dimensional adhesives.
The variety of colors and backgrounds and embellishments made these Valentine cards 
are real splash of color on a snowy February day.

And this was a much easier post to make also!
Old Designs by Didi available at
I've been on that blog since 2012.


Inspiration card on Pinterest
from Etsy by imeondesign